New tracing tools in Illustrator CC / Neue Zeichnungswerkzeuge in Illustrator CC

Info in English and German – Info in Deutsch und Englisch

New tracing tools in Illustrator CC! Are you having issues using the Pen tool to create round corners? Updating to the Adobe Creative Cloud might be your answer!
Neue Zeichnungswerkzeuge in Illustrator CC! Haben sie Schwierigkeiten mit der “Feder”, dem Zeichnungsstiftwerkzeug um Rundungen zu zeichnen? Ein Update zur Adobe Creative Cloud könnte ihre Antwort sein!

divider

1. Live corners: simply draw a star, select the Direct-Selection-Tool, click’n’drag on the “little dot” below your anchor point and then the corner can be rounded. If you are double-clicking the “little dot”, you’re able to change the radius as you wish!
1. Interaktive Ecken: zeichnen sie einen Stern. Klicken sie mit dem Direktauswahl-Werkzeug auf den “kleinen Punkt” direkt unter dem Ankerpunkt und ziehen daran: ihr Eckpunkt wird rund! Wenn Sie kurz Doppelklicken, können sie den Radius nach Wunsch verändern.
RoundedCorners

2. All-new Pencil Tool: In previous Illustrator versions it was only possible to draw open lines with the Pencil tool and they were not very accurate. Now you can adjust the “Smoothness” to be more accurate, continuous and even draw closed shapes.
2. Neues Bunstift-Werkzeug: In früheren Illustrator Versionen war es nur möglich gerade offene Linien mit dem Buntstift zu zeichnen und dies gar nicht präzise! Jetzt können Sie die Qualität selber einstellen, ähnlich zeichnen wie mit dem Zeichenstift-Werkzeug und zu geschlossenen Formen abschliessen.
PencilTool

3. Path Segment Reshape: Remember how hard it was to make rounded shapes? The new Anchor Point Tool might be your answer. Simply drag the straight line with it and reshape as needed!
3. Form für Pfadsegment ändern: Mit dem neuen Ankerpunkt-Werkzeug ist es ein Kinderspiel gerade Linien abzurunden. Klicken sie auf die gerade Linie und runden sie diese nach Wunsch ab!
AnchorPointTool

divider

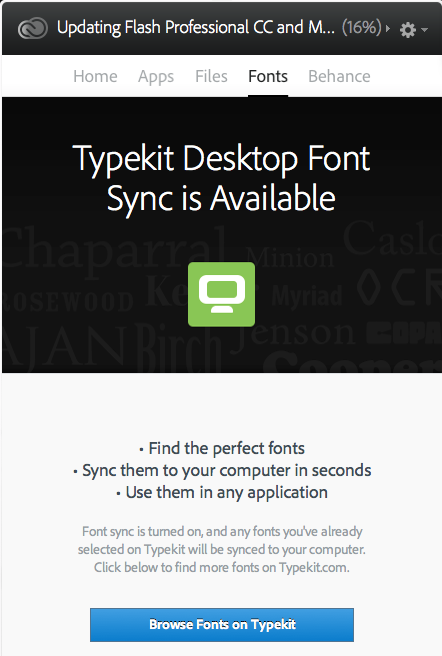
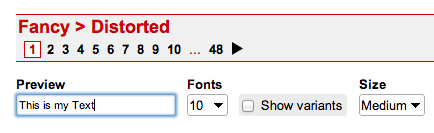
COOL FREE FONTS – COOLE GRATIS SCHRIFTEN ! FREE FONTS with Adobe CC – GRATIS SCHRIFTEN mit Adobe CC

Advertisement

Cool free Fonts in Adobe CC

Tutorial in English and German – Anleitung in Deutsch und Englisch
New Feature in Adobe Creative Cloud is the ability to download cool Fonts for free!
News für Adobe Creative Cloud Benutzer: Laden sie mit dem TYPEKIT gratis Schriften herunter!

TYPEKIT3

In 3 easy steps /
In drei einfachen Schritten:

Screen Shot 2014-02-09 at 6.09.49 PM

1. Simply click on your cloud symbol, click on TYPEKIT and login with your Adobe ID.
1. Klicken sie auf das Cloud Symbol oben in der Steuerung, wählen sie das TYPEKIT und logen sie mit ihrer Adobe ID ein.

typekit

2. The next window says it all! Have fun downloading the free fonts Creative Cloud provides!
2. Das nächste Fenster sagt alles: es ist ganz einfach die Fonts anzuschauen und herunterzuladen!

Screen Shot 2014-02-09 at 6.10.50 PM

Tip:
For older Adobe Versions, feel free to check out the following Tutorial, which also offers great possibilities in choosing free Fonts!
TUTORIAL > FREE COOL FONTS !

Tipp: Für ältere Adobe Versionen haben wir hier ein anderes Tutorial, wobei gezeigt wird wie man auch sonst zu coolen Gratis Schriften kommt!
TUTORIAL > COOLE GRATIS SCHRIFTEN !

Creative font solutions – Kreatives Gestalten mit Schriften

Tutorial in English and German / Anleitung in Deutsch und Englisch

English version:

Would you like to receive our tips for free in your e-mail box? Simply select FOLLOW to sign up with your e-mail address.

divider

TIP OF THE WEEK: Creative font solutions!

Illustrator trick: “Create Outline” font option and “Compound Path Release”

1. Download a fancy free* font at dafont.com

2. In our case the font is from the Category > Fancy > Distorted. You can type your text into the PREVIEW field to see how it looks.

Screen Shot 2013-12-22 at 11.04.22 AM

3. Select your font with the Selection Tool and go to TYPE > “Create Outlines”.

4. With the “Compound Path Release” option, you can release the paths and colorize individual parts of each letter separately.

Tutorial spoken in German & English:

*IMPORTANT: Be aware that not every font is for free! Read the information before you hit the DOWNLOAD button. Donationware > Donate to author should be taken seriously. Free for personal use should not be used for commercial purposes.

divider

Deutsche Version:

Möchten Sie unsere gratis Tipps im e-mail erhalten? Schreiben Sie sich unter FOLLOW mit Ihrer e-mail Adresse ein.

divider

TIPP DER WOCHE: Kreatives Gestalten mit Schriften!

Illustrator trick: “Schrift in Pfade umwandeln” und “Zusammengesetzter Pfad zurückwandeln”

1. Laden Sie eine coole gratis* Schrift von dafont.com herunter.

2. In unserem Fall ist die Schrift von der Kategorie > Fancy > Distorted. Sie können Ihren Text ins PREVIEW Feld tippen um eine Vorschau zu sehen.

Screen Shot 2013-12-22 at 11.04.22 AM

3. Wählen Sie Ihre Font mit dem Auswahlwerkzeug an und gehen unter SCHRIFT > “in Pfade umwandeln”.

4. Mit der Option “Zusammengesetzter Pfad zurückwandeln” kann man die Verknüpfung aller Pfade lösen und jeder Teil innerhalb des Buchstaben einzeln einfärben.

Schritt für Schritt Anleitung auf Deutsch und Englisch:

*WICHTIG: Nicht jede Schrift ist Gratis! Bevor Sie auf den DOWNLOAD Knopf klicken, sollten Sie die Bedingungen genau lesen. Donationware > Donate to author heisst; dass man dafür auch bezahlen sollte. Free for personal use; die Schrift sollte nicht für kommerzielle Zwecke benutzt werden.