Indesign & Illustrator: Layers/Ebenen-Trick

Tutorial in English and German / Anleitung in Deutsch und Englisch

Deutsche Version siehe unten!
divider

English version:

Would you like to receive our tips for free in your e-mail box? Simply select FOLLOW to sign up with your e-mail address.

TIP OF THE WEEK: InDesign & illustrator: How to move an object from one layer to another

Here is a cool Tutorial to check out first before we begin: How to work with layers in Adobe Indesign

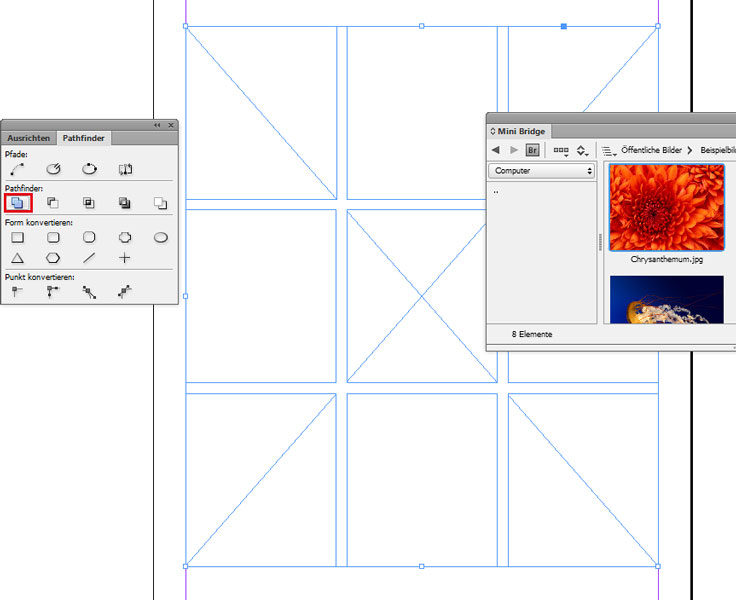
A lot of my students have been asking about layer-basics:
1. Place one object on to the bottom layer
2. Create an additional layer

layers

3. Select the object with the Selection-Tool on the bottom layer and move the small square from the bottom to the top layer. The layer structure remains the same; it is just the object which moves from one layer to the other!

divider

Deutsche Version:

Möchten Sie unsere gratis Tipps in Ihrem e-mail erhalten? Schreiben Sie sich unter FOLLOW mit Ihrer e-mail Adresse ein.

TIPP DER WOCHE: InDesign & Illustrator: Wie man ein Objekt von einer Ebene in die andere verschieben kann

Hier ist ein cooles Tutorial über Ebenen in Indesign bevor wir beginnen: Wie man mit Ebenen im Indesign arbeitet

Viele meiner Studenten wünschen Basiskenntnisse über Ebenen:
1. Platzieren Sie ein Objekt auf der unteren Ebene
2. Erstellen Sie eine neue zweite Ebene

Ebenen

3. Wählen Sie mit dem Auswahl-Werkzeug das Objekt auf der unteren Ebene an und ziehen das kleine farbige Quadrat auf die obere Ebene. Die Anordnung der Ebenen bleibt gleich; nur das Objekt bewegt sich von einer Ebene zur anderen!

divider

Any support is greatly appreciated – Jede Unterstützung freut uns: PayPal Donate Button

Social Media 3

divider

Illustrator Tutorial: How to vectorize a photo and colorise it
I like to use my own photographs and combine them into my illustrations. Here is a cool trick on how to vectorize your own photos in Illustrator.

divider

Illustrator Tipp: Wie man ein Foto vektorisiert und einfärbt
Ich benutze gerne meine digitalen Fotos in meinen Illustrationen. Hier ist ein cooler Trick wie Sie Ihre eigenen Photos in Illustrator vektorisieren.

divider

Courtesy of Illustration Source

Courtesy of Illustration Source

View the artists’s homage on the topic: SOCIAL MEDIA

Miriam Selmi Reed is represented by Illustration Source, New York City. Portfolio and contact: Illustration Source NYC

Illustration technique: watercolor, acrylic and pencil combined with digital mixed media using Adobe Photoshop and Illustrator.Copyright by Illustration Source, New York City.

Illustrations-Technik: Aquarell, Acryl mit Farbstift, gemischt mit Adobe Photoshop und Illustrator. Copyright by Illustration Source, New York City.

divider

Your source for commissioned illustration: ORIGINAL ART STUDIOS in New York City.

OAS

Portfolio Original Art Studios, New York City: MIRIAM SELMI REED

Cool InDesign Trick 2

As instructors of Adobe programs and creative professionals, we’ve assembled this blog as an easy reference for our students and clients.” Miriam Selmi Reed & Michael Alan Reed

Deutsche Version siehe unten!
divider

English version:

TIP OF THE WEEK: Cool InDesign Trick part 2

1. Draw 9 squares in InDesign using the Rectangle Frame Tool. Tip: InDesign Trick Part 1

2. If possible open the MINI BRIDGE – then select all 9 squares at the same time using the Selection-Tool and open the PATHFINDER under WINDOW > OBJECT & LAYOUT.

trickD1

3. In the PATHFINDER window select the button “Add: Combines selected objects into one shape”. Now your 9 squares are ready to be filled in with one image…

trickE2

4. Either drag your image of your choice from the MINI BRIDGE into the image box or simply go to MENU > FILE > PLACE

trickE3

Sharing infos & tips: iADOBE FORUM Our tips: i-adobe eBook in English

divider

Deutsche Version!

TIPP DER WOCHE: Cool InDesign Trick Teil 2

1. Zeichne 9 Quadrate in InDesign mit dem Rechteckrahmen-Werkzeug. Tipp: InDesign Trick Teil 1

2. Wähle nun mit dem Auswahl-Werkzeug alle 9 Quadrate gleichzeitig an und öffne den PATFINDER unter FENSTER > OBJEKT & LAYOUT.

trickD1

3. Im PATHFINDER Fenster wähle den Button “Addieren: Die ausgewählten Objekte werden zu einer gemeinsamen Form kombiniert”.

trickD2

4. Jetzt kann man ein Bild entweder von der MINI BRIDGE direkt hineinziehen oder unter MENÜ > DATEI > PLATZIEREN

trickE3

divider

Tausche dich aus im iADOBE FORUM! Unsere Tipps: i-adobe eBook in Deutsch