As instructors of Adobe programs and creative professionals, we’ve assembled this blog as easy reference for our students and clients.” Miriam Selmi Reed & Michael Alan Reed
Deutsche Version – siehe unten!
1. Open your image in Adobe Photoshop.
2. Open your layers under Window > Layers.
3. Add a new empty layer on top.
4. Select either the Stamp-Tool or the Healing-Brush-Tool.
5. Make sure you select the command ALL LAYERS on top!
6. When clicking the ALT Key, the Healing-Brush-Tool (or Stamp-Tool) samples the part you are selecting. Have a look below.
7. Then you click on the part you wish to retouch. No worries: you are stamping on an empty layer, use the eraser tool if you need to make corrections.
Sharing infos & tips: iADOBE FORUM – Our tips: i-adobe eBook in English

Illustration by Miriam Selmi Reed – Courtesy of Illustration Source
Deutsche Version:
1. Öffne dein Bild in Adobe Photoshop.
2. Öffne deine Ebenen unter Menu > Ebenen.
3. Erstelle eine neue leere Ebene ganz oben.
4. Wähle entweder das Stempel-Werkzeug oder den Bereichsreparatur-Pinsel.
5. Ganz wichtig: oben in der Steuerung ALLE EBENEN auswählen!
6. Wenn du den ALT Key drückst, wird der Bereichsreparatur-Pinsel (oder Stempel) den Teil aufnehmen den du haben willst. Siehe oben.
7. Danach klickst du auf den Teil den du retuschieren willst. Keine Sorge: du stempelst auf einer leeren Ebene, falls nötig, benutzt du den Radiergummi für Korrekturen.
Tipp! Adobe Photoshop für Tutorial-Freunde: Die komplette Übersetzung von Englisch zu Deutsch: Übersetzung Englisch > Deutsch in Photoshop CC
Tausche dich aus im iADOBE FORUM! Unsere Tipps: i-adobe eBook in Deutsch
![]()
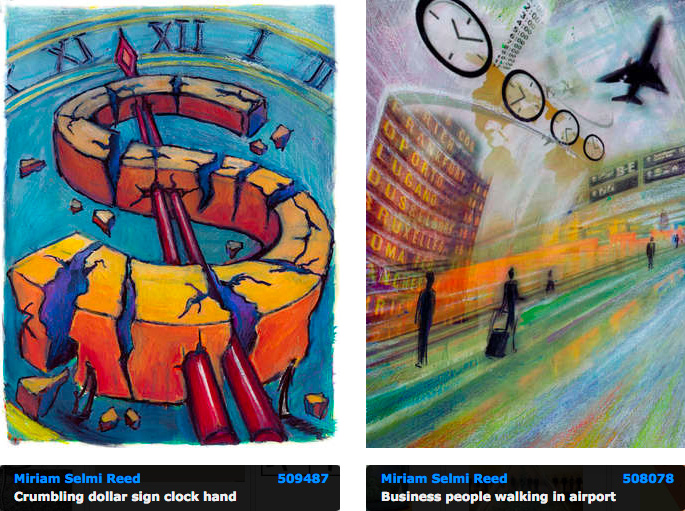
Courtesy of Illustration Source
View the artists’s homage on the topic: TIME!
Illustration technique: watercolor, acrylic and pencil combined with digital mixed media using Adobe Photoshop and Illustrator.Copyright by Illustration Source, New York City.
Illustrations-Technik: Aquarell, Acryl mit Farbstift, gemischt mit Adobe Photoshop und Illustrator. Copyright by Illustration Source, New York City.