![]()
Deutsche Version siehe unten!
TIP OF THE MONTH:
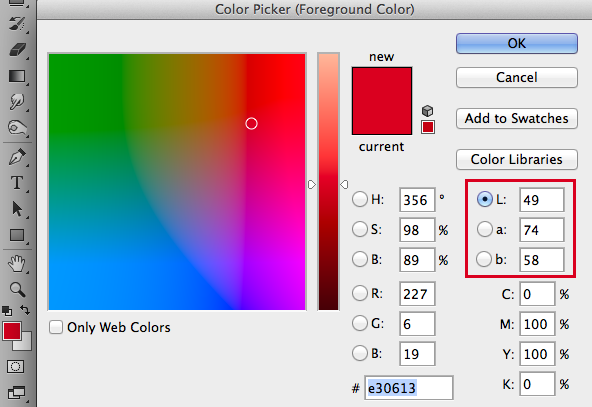
“How I quickly change my brightness with Adobe Photoshop WITHOUT changing my colors”:
To get the my best result; I change my illustration under IMAGE > MODE to 16 Bit and then go to IMAGE > MODE and select Lab Color.
With this trick I’m able to change the brightness seperately from my colors! Here is the step-by-step guide: How to work with the Lab Color Mode in Photoshop.

Deutsche Version
TIPP DES MONATS:
“Wie ich die Helligkeit mit Adobe Photoshop anpasse OHNE meine Farben zu verändern”:
Um mein bestes Resultat zu erreichen, ändere ich meine Illustration unter BILD > MODUS auf 16 Bit, gehe dann zu BILD > MODUS > und wähle den Modus Lab-Farbe.
Mit diesem Trick kann ich meine Helligkeiten separat von den Farben ändern! Hier ist ist alles im Detail erklärt: Wie man mit dem Lab-Farbe-Modus in Photoshop arbeitet.
Courtesy of Illustration Source
View the artists’s homage on the topic: THE GRADUATE
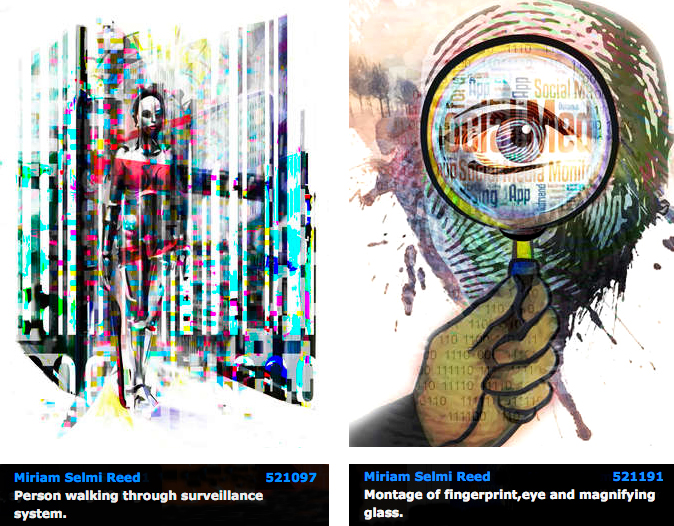
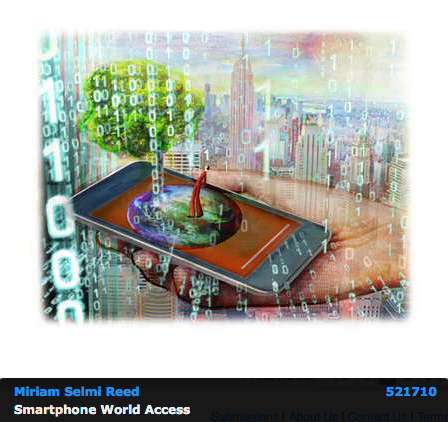
Miriam Selmi Reed is represented by Illustration Source, New York City. Portfolio and contact: Illustration Source NYC
Illustration technique: watercolor, acrylic and pencil combined with digital mixed media using Adobe Photoshop and Illustrator.Copyright by Illustration Source, New York City.
Illustrations-Technik: Aquarell, Acryl mit Farbstift, gemischt mit Adobe Photoshop und Illustrator. Copyright by Illustration Source, New York City.