As instructors of Adobe programs and creative professionals, we’ve assembled this blog as easy reference for our students and clients.” Miriam Selmi Reed & Michael Alan Reed
English version:
Below is my personal way of cutting out an image with hard edges:
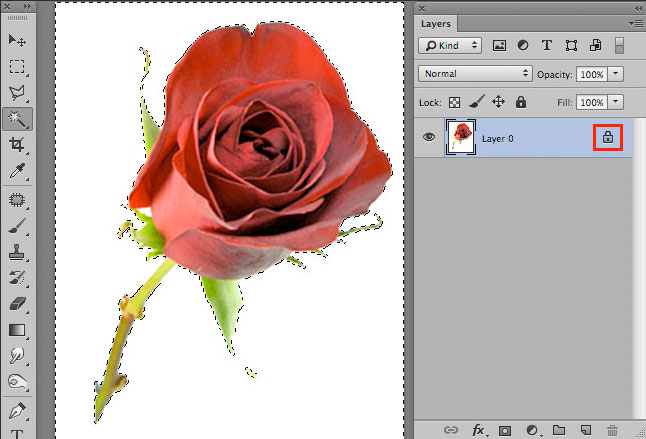
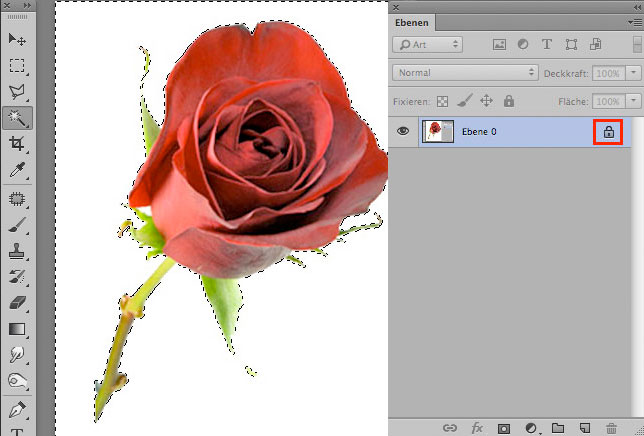
1. Open your image in Adobe Photoshop.
2. Duplicate your layer and select it.
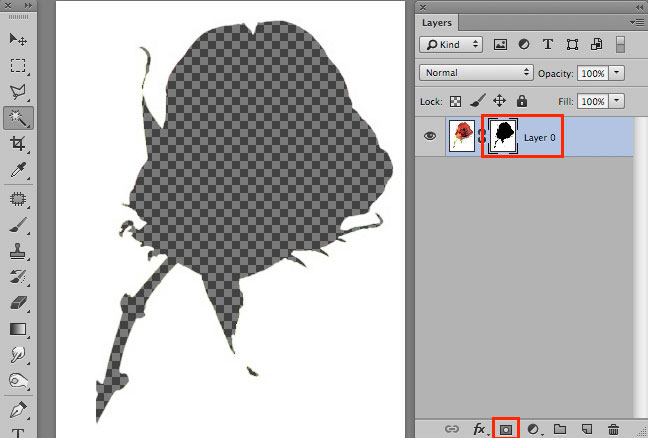
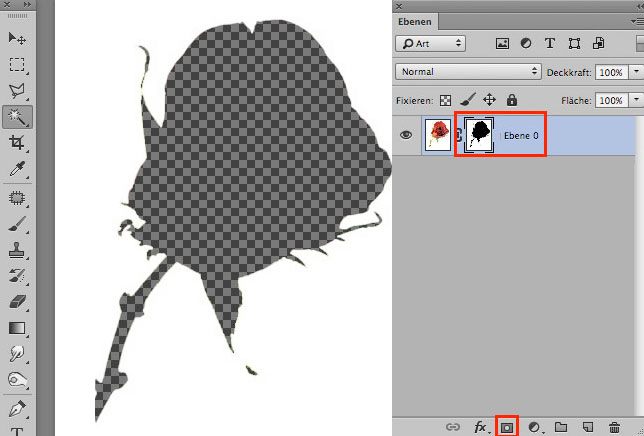
3. Click TWICE on to the layer-mask icon so you will get a VECTOR MASK.
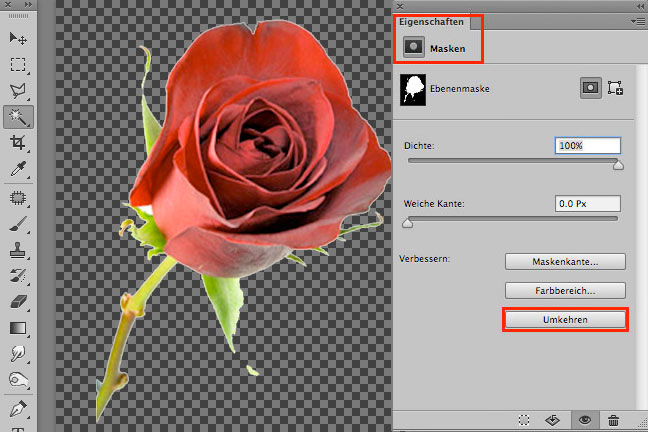
4. Select your Pen-Tool and follow the shape you would like to cut out.
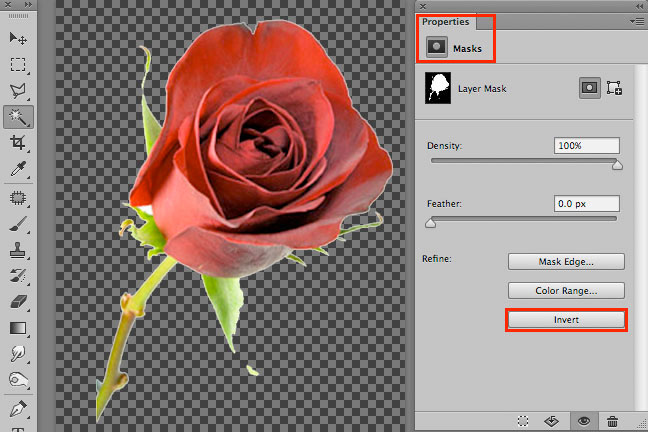
5. Once you are done; click on the layer below and make it invisible.
6. To make alterations on your vector path, simply open the Properties or use the Direct-Selection-Tool to alter the vector points.
Another possible way to cut out an image using the Quick-Selection-Tool
Sharing infos: iADOBE FORUM – Our tips for easy download: i-adobe eBook in English
Illustration by Miriam Selmi Reed – Courtesy of Illustration Source NYC
Deutsche Version:
Oben zeige ich mein persönlicher Tipp wie ich Bilder mit harten Kanten freistelle:
1. Öffne dein Bild in Adobe Photoshop.
2. Dupliziere deine Ebene und wähle diese an.
3. Klicke ZWEIMAL auf das Ebenenmasken-Icon damit eine VEKTOR-MASKE entsteht.
4. Wähle dein Zeichenstift-Werkzeug und folge dem Objekt, welches du freistellen möchtest.
5. Wenn du fertig bist, mach die untere Ebene unsichtbar.
6. Um weitere Korrekturen vorzunehmen, öffne die Eigenschaften oder klicke mit dem Direkt-Auswahl-Werkzeug auf die Vektoren und verschiebe deren Position.
Ein anderer schneller Weg ein Bild freizustellen mit dem Schnell-Auswahl-Werkzeug
Tipp! Adobe Photoshop – Die komplette Übersetzung Englisch > Deutsch in Photoshop CC
Tausche dich aus im iADOBE FORUM – Alle unsere Tipps als: i-adobe eBook in Deutsch
![]()

Courtesy of Illustration Source
View the artists’s homage on the topic: Finance and Debt
Miriam Selmi Reed is represented by Illustration Source, New York City. Portfolio and contact: Illustration Source NYC
Illustration technique: watercolor, acrylic and pencil combined with digital mixed media using Adobe Photoshop and Illustrator.Copyright by Illustration Source, New York City.
Illustrations-Technik: Aquarell, Acryl mit Farbstift, gemischt mit Adobe Photoshop und Illustrator. Copyright by Illustration Source, New York City.
![]()
Your source for commissioned illustration: ORIGINAL ART STUDIOS in New York City.

Portfolio Original Art Studios, New York City: MIRIAM SELMI REED