English version:
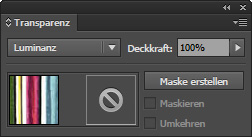
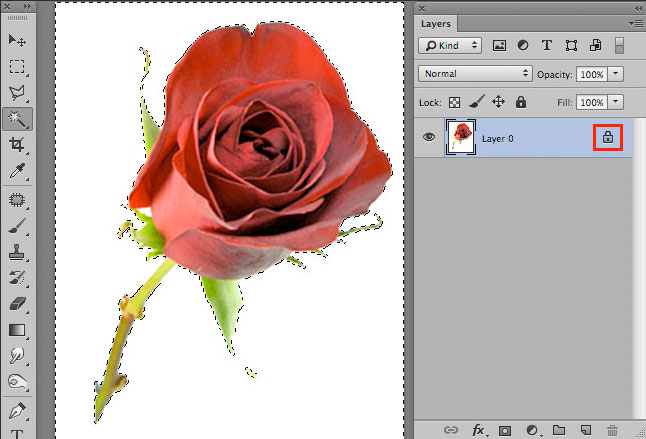
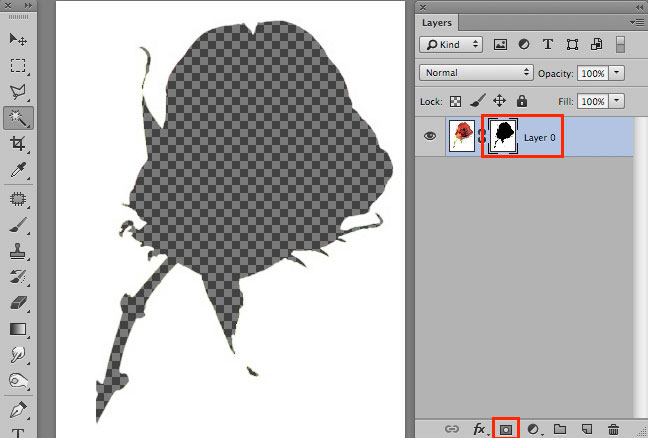
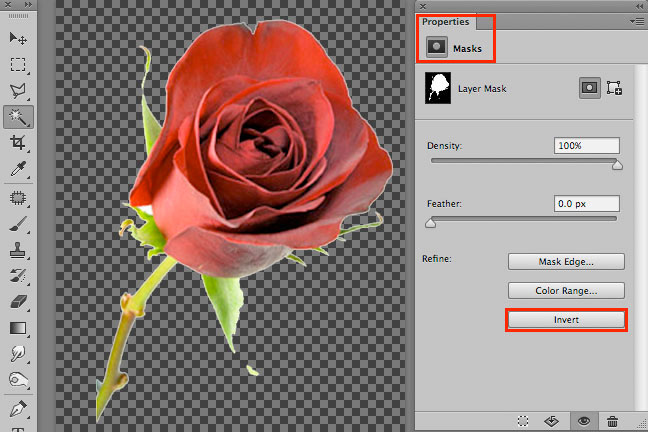
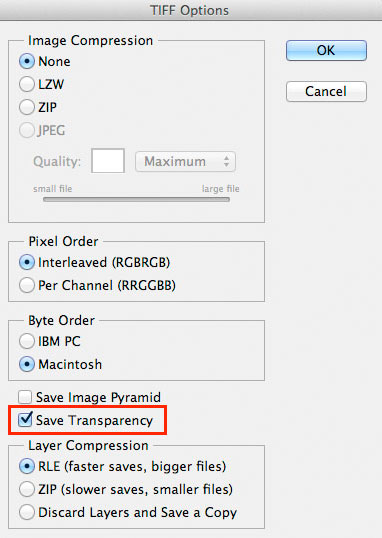
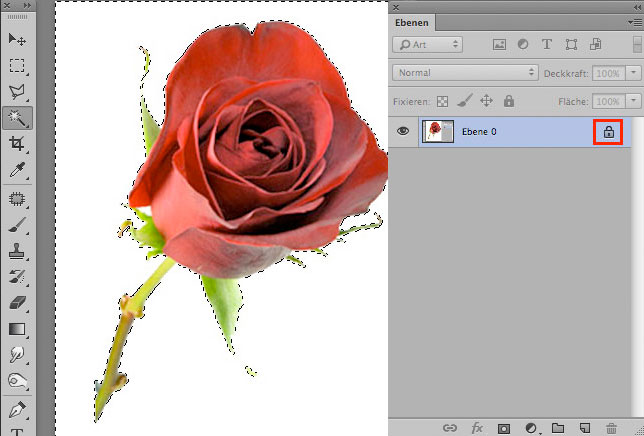
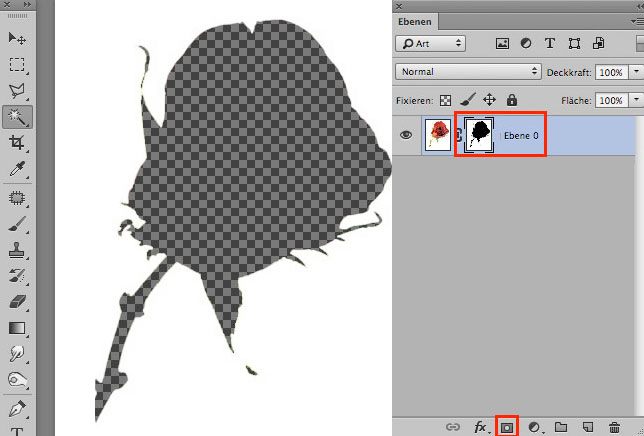
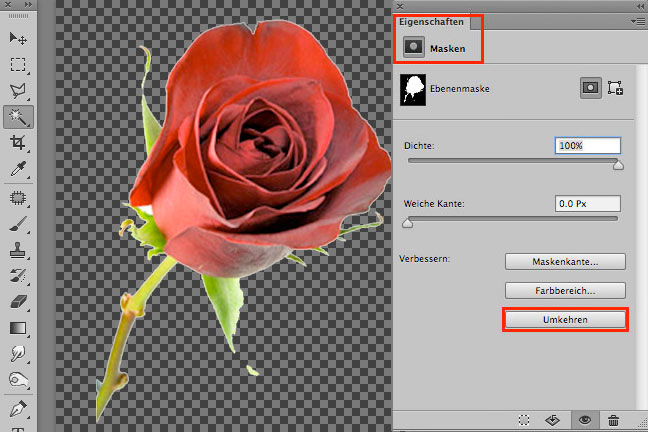
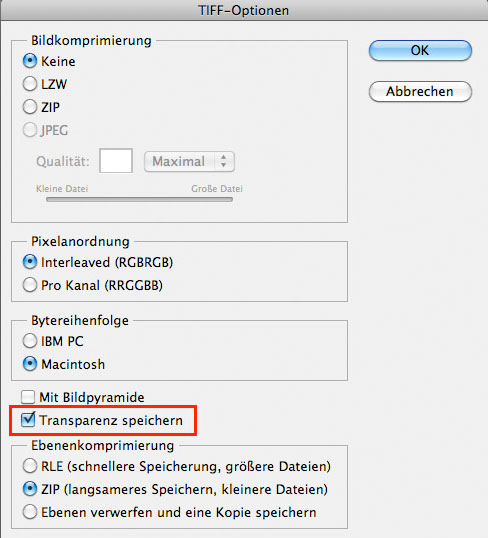
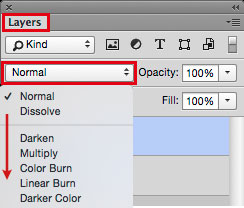
Adobe Photoshop Tip > BLENDING MODE: I love to use Blending Modes in my layers, as shown in the Illustration below. I first go under MENU > LAYERS > and select a different Blending Mode for the layer. With this method, I can apply different transparencies to my layers and work non-destructive.
Sharing infos: iADOBE FORUM – Our tips for easy download: i-adobe eBook in English

Illustration by Miriam Selmi Reed – Courtesy of Illustration Source
![]()
Deutsche Version:
Adobe Photoshop Tipp > MISCHMODUS: Ich benutze gerne den Mischmodus in Photoshop – wie bei der Illustration oben. Dazu gehe ich unter MENU > EBENEN > und stelle einen anderen Mischmodus für die Ebene ein. Mit dieser Methode arbeite ich nicht-Destruktiv, und kann somit jederzeit eine Transparenz nach Wunsch verändern.

Tausche dich aus im iADOBE FORUM – Alle unsere Tipps als: i-adobe eBook in Deutsch
![]()
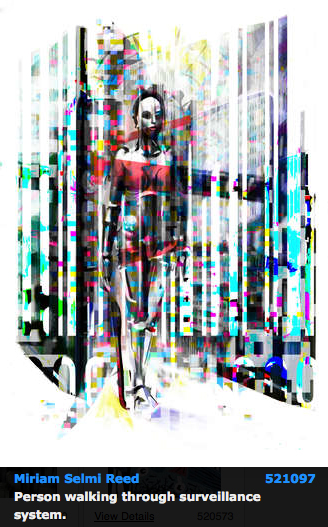
Courtesy of Illustration Source
View the artists’s homage on the topic: GOVERNMENT
Miriam Selmi Reed is represented by Illustration Source, New York City. Portfolio and contact: Illustration Source NYC
Illustration technique: watercolor, acrylic and pencil combined with digital mixed media using Adobe Photoshop and Illustrator.Copyright by Illustration Source, New York City.
Illustrations-Technik: Aquarell, Acryl mit Farbstift, gemischt mit Adobe Photoshop und Illustrator. Copyright by Illustration Source, New York City.