Wie man mit Hilfe des Bedienfeldes VOREINSTELLUNGEN einen Grundlinienraster sowie Ränder und Spalten einrichtet und eine automatische Seitenzahl-Marke erstellt.
Video & sound by REEDesign.ch
Wie man mit Hilfe des Bedienfeldes VOREINSTELLUNGEN einen Grundlinienraster sowie Ränder und Spalten einrichtet und eine automatische Seitenzahl-Marke erstellt.
Video & sound by REEDesign.ch
Tutorial in English and German / Anleitung in Deutsch und Englisch
Deutsche Version siehe unten!
![]()
English version:
Tip of the week: How to show the Channels in Photoshop in Color!
(The normal setting only shows them in greyscale)
It’s 1 simple step:
On a PC go to EDIT > PREFERENCES > INTERFACE and click on the box
SHOW CHANNELS IN COLOR.
On a Mac go to PHOTOSHOP > PREFERENCES > INTERFACE and click on the box
SHOW CHANNELS IN COLOR.

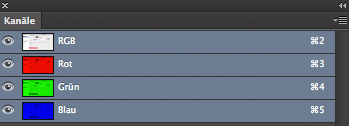
Open WINDOW > CHANNELS … the channels are now shown in color!

![]()
Deutsche Version:
Tip of the week: Wie man die Kanäle in Photoshop farbig sehen kann!
(Normalerweise sieht man diese leider nur in Graustufen)
Es ist ein einfacher Schritt:
Auf einem PC gehen Sie zu BEARBEITEN > VOREINSTELLUNGEN > BENUTZEROBERFLÄCHE und klicken Sie auf die Box FARBAUSZÜGE IN FARBE ANZEIGEN.
Auf einem Mac gehen Sie zu PHOTOSHOP > VOREINSTELLUNGEN > BENUTZEROBERFLÄCHE und klicken Sie auf die Box FARBAUSZÜGE IN FARBE ANZEIGEN.

Öffnen Sie unter FENSTER > KANÄLE… die Kanäle werden neu in Farbe gezeigt!
![]()
Our new i-adobe book is available online – in English – Preview & download here!
Unser neues i-adobe book ist erhältlich online – in Deutsch – Vorschau & Download hier!
Tutorial in English and German / Anleitung in Deutsch und Englisch
English version:
Would you like to receive our tips for free in your e-mail box? Simply select FOLLOW to sign up with your e-mail address.
![]()
TIP OF THE WEEK: How to control the Baseline Grid in Adobe InDesign
1. Open Adobe InDesign and place a large photo and some text.

Courtesy of Illustration Source, New York City
2. Go to VIEW > GRIDS & GUIDES > SHOW BASELINE GRID. The baseline grid is shown behind the picture which is not always useful.
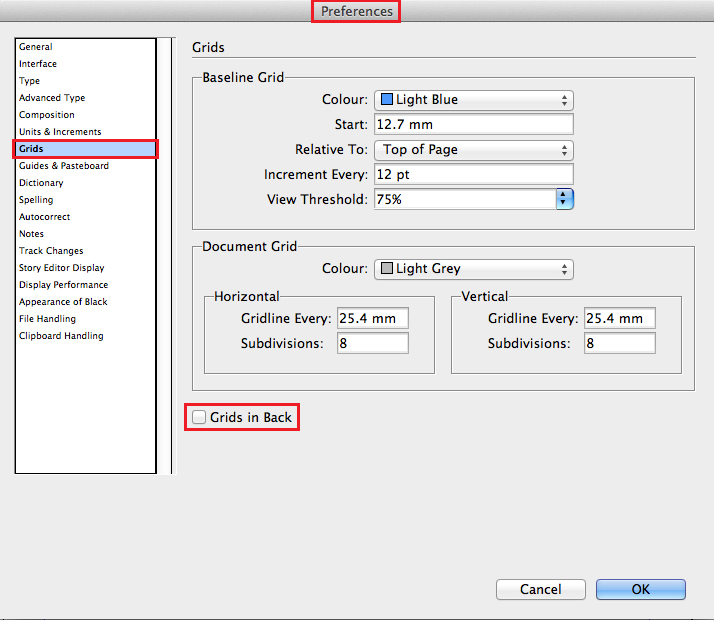
3. Go to the Indesign Preferences which are located on a MAC under INDESIGN > PREFERENCES > GRIDS and on a PC under EDIT > PREFERENCES > GRIDS. That is the important part: be sure that the GRIDS IN BACK box is turned off!
As you can see, the grids are now shown OVER the image!

Courtesy of Illustration Source, New York City
How to align your text to your Baseline Grid as shown above: BASELINE GRID
![]()
Deutsche Version:
Möchten Sie unsere gratis Tipps im e-mail erhalten? Schreiben Sie sich unter FOLLOW mit Ihrer e-mail Adresse ein.
TIPP DER WOCHE: Wie man den Grundlinienraster in Adobe InDesign anpasst
1. Öffnen Sie Adobe InDesign platzieren Sie ein grosses Foto und Text.
Courtesy of Illustration Source, New York City
2. Gehen Sie zu ANSICHT > RASTER UND HILFSLINIEN > GRUNDLINIENRASTER EINBLENDEN. Der Grundlinienraster ist im Moment hinter dem Foto, was nicht immer praktisch ist.
3. Gehen Sie zu den Indesign Voreinstellungen welche bei MAC unter INDESIGN > VOREINSTELLUNGEN > RASTER und auf einem PC unter BEARBEITEN > VOREINSTELLUNGEN > RASTER zu finden sind. Wählen nun Sie die RASTER IM HINTERGRUND BOX ab!
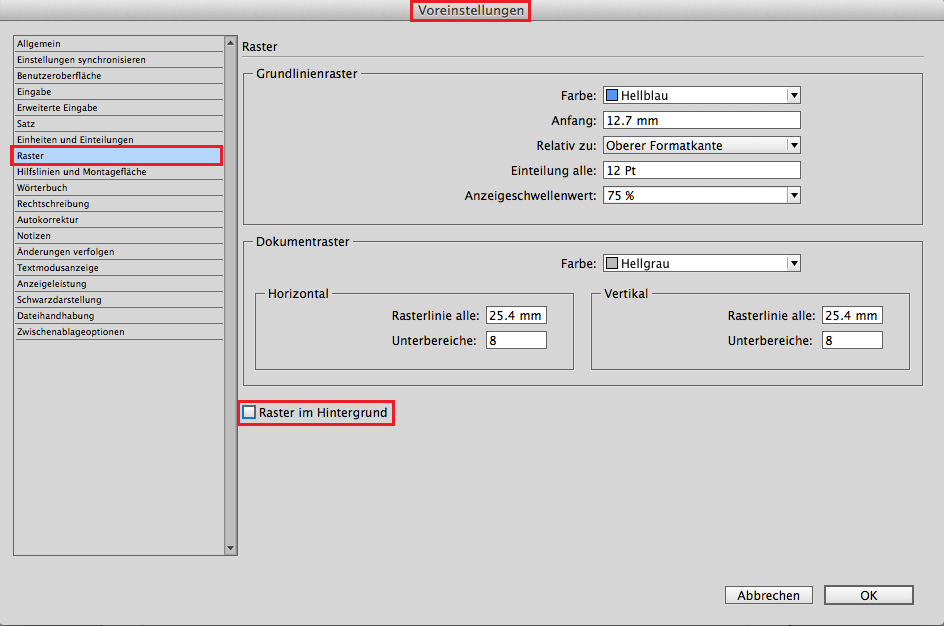
Mit dem abwählen dieser Box erscheint der Raster nun ÜBER dem Bild!
Courtesy of Illustration Source, New York City
Passen Sie Ihren Text am Grundlinienraster an, wie beim oberen Beispiel: GRUNDLINIENRASTER
