As instructors of Adobe programs and creative professionals, we’ve assembled this blog as easy reference for our students and clients.” Miriam Selmi Reed & Michael Alan Reed
Deutsche Version siehe unten!
English version:
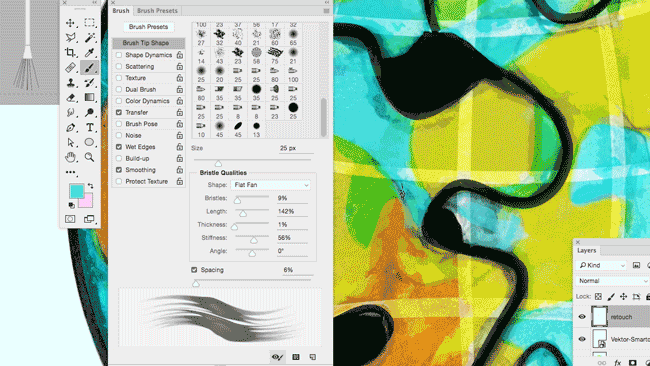
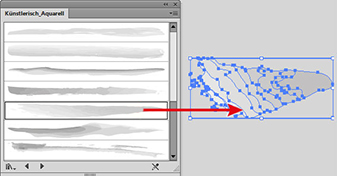
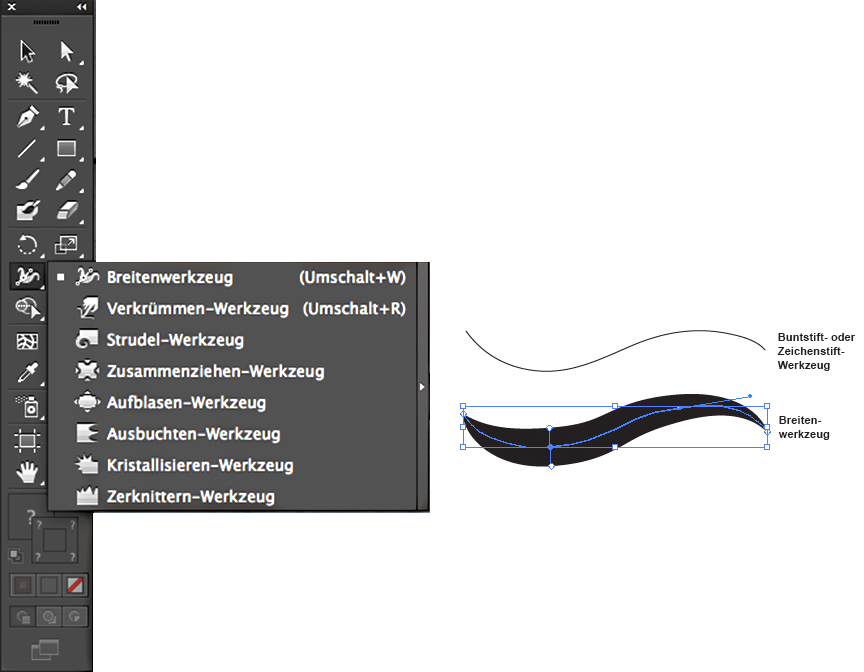
In my illustration below, I’ve used my own brushes which I created myself in Adobe Illustrator CC: Step-by-step-Information.
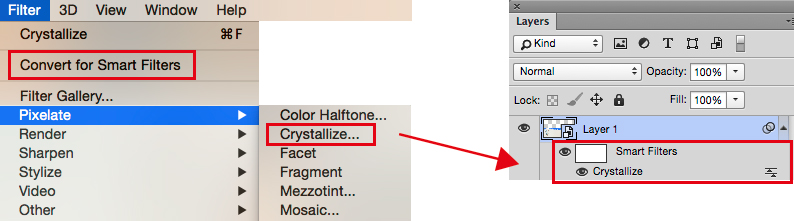
Here is a Tutorial directly from Adobe covering this topic: HOW TO DRAW WITH ILLUSTRATOR
Any questions? Contact us at iADOBE FORUM! ALL tips for easy download: i-adobe eBook in English
![]()
NEW! Webinar online in English:
Learn how to draw digitally with tips & tricks in combination with Photoshop.
Interested? Send me an e-mail – greetings, Mimi Reed

NEU! Webinar online in Deutsch:
Digital zeichnen lernen mit Tipps & Tricks, in Kombination mit Photoshop.
Interessiert? Schreib mir ein e-mail – Grüsse, Mimi Reed
![]()
Deutsche Version:
Bei meiner Illustration unten benutzte ich meine eigenen Pinsel welche ich selber in Adobe Illustrator CC erstellte: Schritt-für-Schritt Anleitung.
Hier ist ein Tutorial direkt von Adobe über das Thema: WIE MAN MIT ILLUSTRATOR ZEICHNET
Hast du noch Fragen? Kontaktiere uns unter iADOBE FORUM! Alle Tipps zum herunterladen: i-adobe eBook in Deutsch
![]()

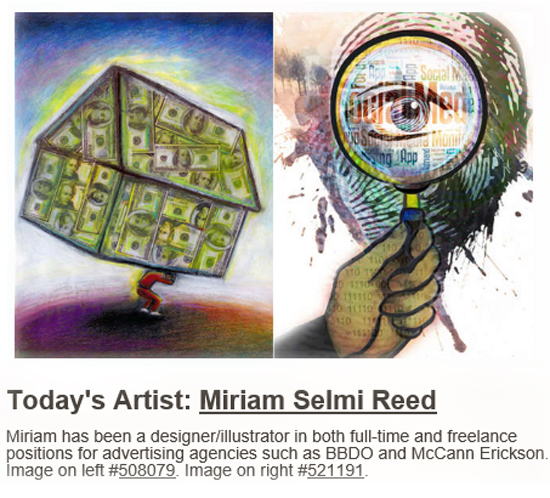
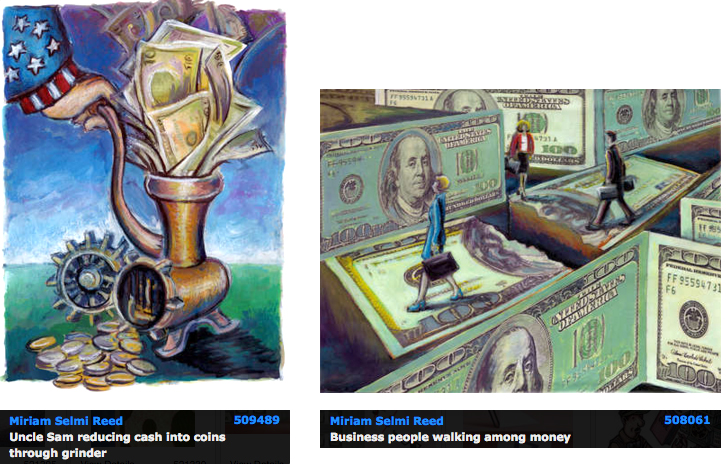
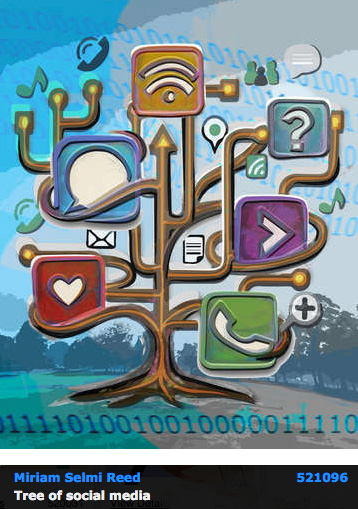
Courtesy of Illustration Source
![]()
Your source for commissioned illustration: ILLUSTRATION SOURCE in New York City.
Illustration Source, New York City: online Portfolio Miriam Selmi Reed
Original Art Studios, New York City: MIRIAM SELMI REED at OAS