![]()
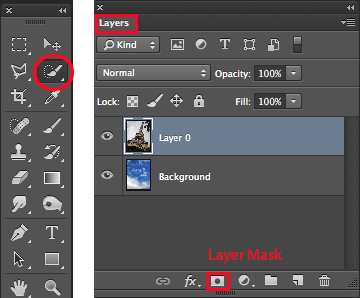
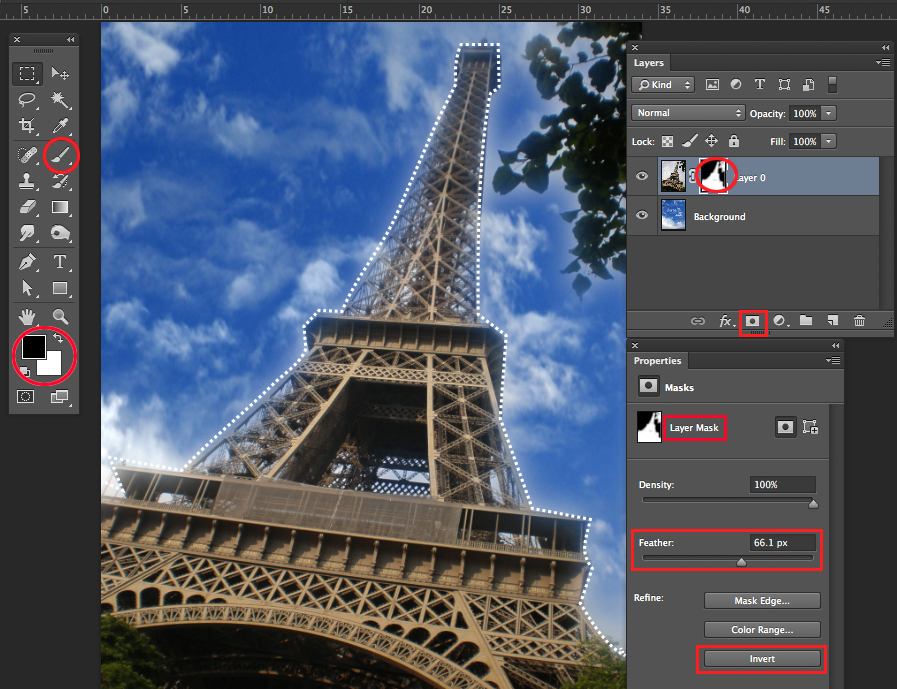
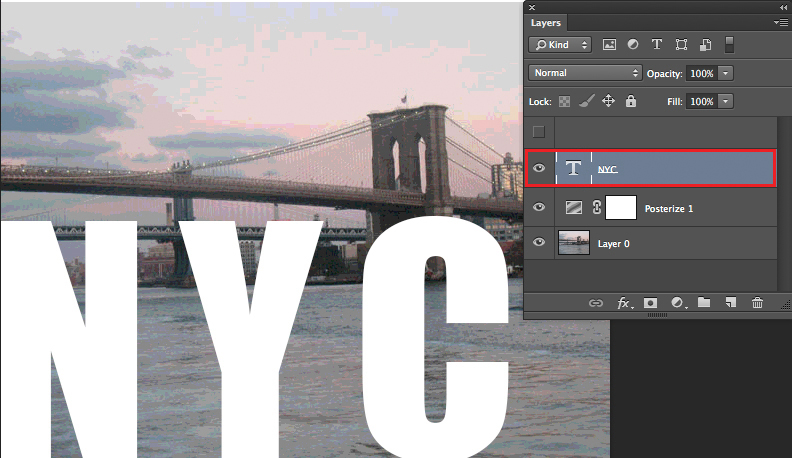
TIP OF THE WEEK: how I retouch my illustrations using the Stamp Tool and Healing Brush Tool in Photoshop CC or CS6. I place on an empty layer on top – while I select the option ALL LAYERS in the Control Bar – then I click the ALT key to sample and start stamping. 😉

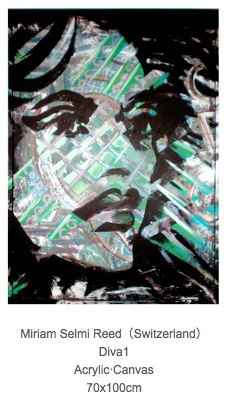
Miriam Selmi Reed is represented and licensed by Illustration Source – Courtesy of Illustration Source
TIPP DER WOCHE: Wie ich meine Illustrationen retuschiere mit dem Stempel Werkzeug oder dem Reparaturpinsel ist einfach. Ich benutze eine leere Ebene die ich ganz oben einfüge. Dann drücke ich die ALT Taste um einen sauberen Bereich aufzunehmen – mit der Option ALLE EBENEN aufnehmen in der Steuerung – und stemple vor mich hin. 😉
![]()

Miriam Selmi Reed is represented and licensed by Illustration Source – Courtesy of Illustration Source
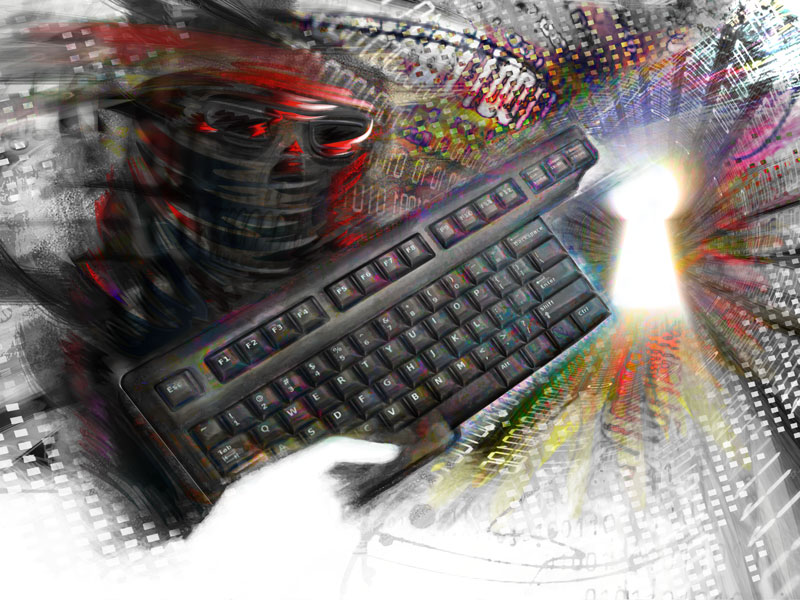
View the artists’s homage on the topic: MENTAL HEALTH
Miriam Selmi Reed is represented by Illustration Source, New York City. Portfolio and contact: Illustration Source NYC
Illustration technique: watercolor, acrylic and pencil combined with digital mixed media using Adobe Photoshop and Illustrator.Copyright by Illustration Source, New York City.
Illustrations-Technik: Aquarell, Acryl mit Farbstift, gemischt mit Adobe Photoshop und Illustrator. Copyright by Illustration Source, New York City.
![]()
Your source for commissioned illustration: ORIGINAL ART STUDIOS in New York City.

Portfolio Original Art Studios, New York City: MIRIAM SELMI REED